Redesigning a property management website is not a design project. It is a business project with a design component. A successful redesign fills more units, wins more owner contracts, and pays for itself within 90 days. Here is the complete process, from first call to launch.
Phase 1: Discovery (Days 1-2)
Before any design work starts, answer these questions. Who is your primary audience: renters, owners, or both? What does a successful website look like for your business? How many leads do you need per month? What is your current conversion rate? Most property managers skip this step. They hire a designer and say "make it look nice." That produces a nice-looking site that does not drive business.
Discovery should include a competitive audit. Look at the top 5 property management companies in your market. What are they doing well? Where are they weak? Your website should differentiate you, not copy them. Document everything.
Discovery checklist
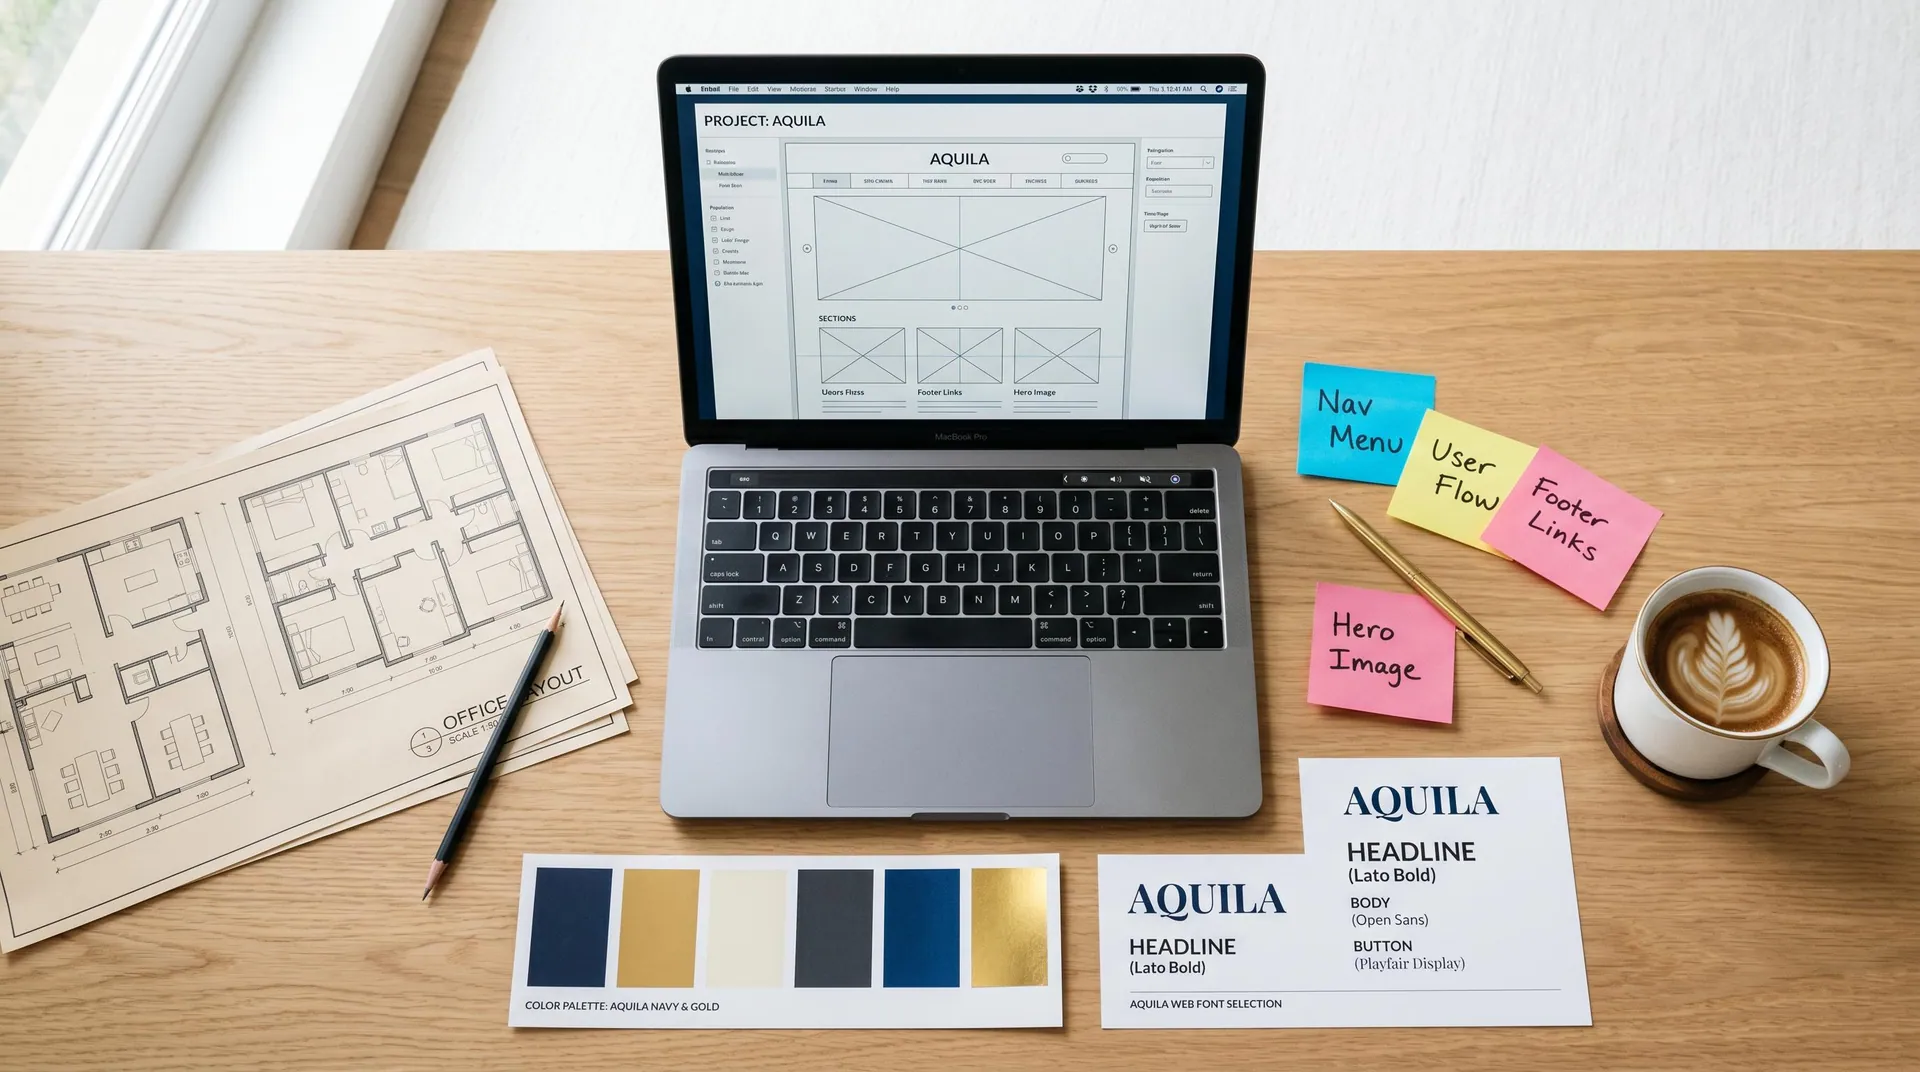
Phase 2: Design direction (Day 3)
Choose a design direction that matches your brand. Clean and conversion-led. Editorial and refined. Warm and personal. The direction should feel like your properties, not a template. This is where you decide the personality of your site.
A good design direction includes: color palette, typography choices, photography style, and layout patterns. It should feel cohesive from the homepage to the contact form. Every page should feel like it belongs to the same property.
Budget reality check
$2-4K
DIY / template approach
$4-8K
Professional PM-focused design
$8-15K
Premium custom with full integration
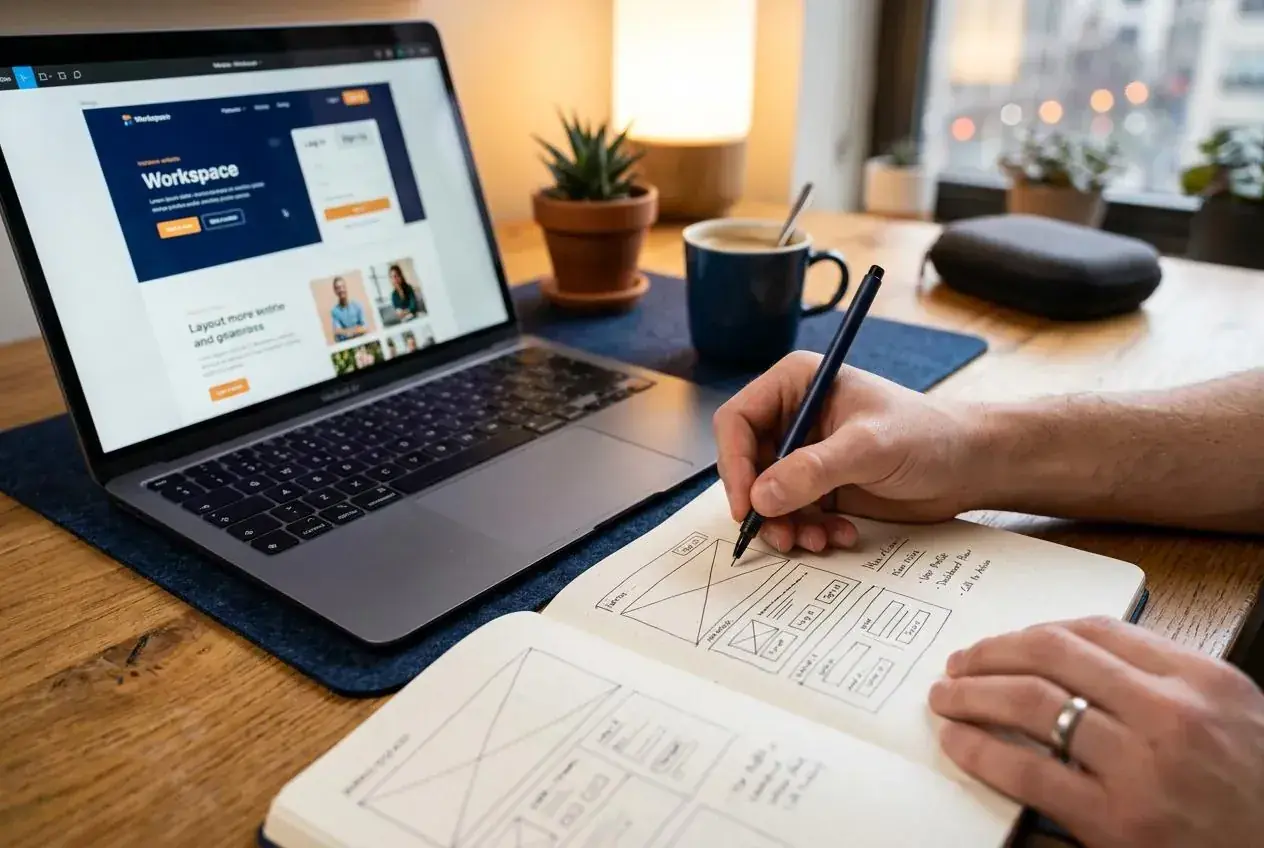
Phase 3: Build (Days 4-6)
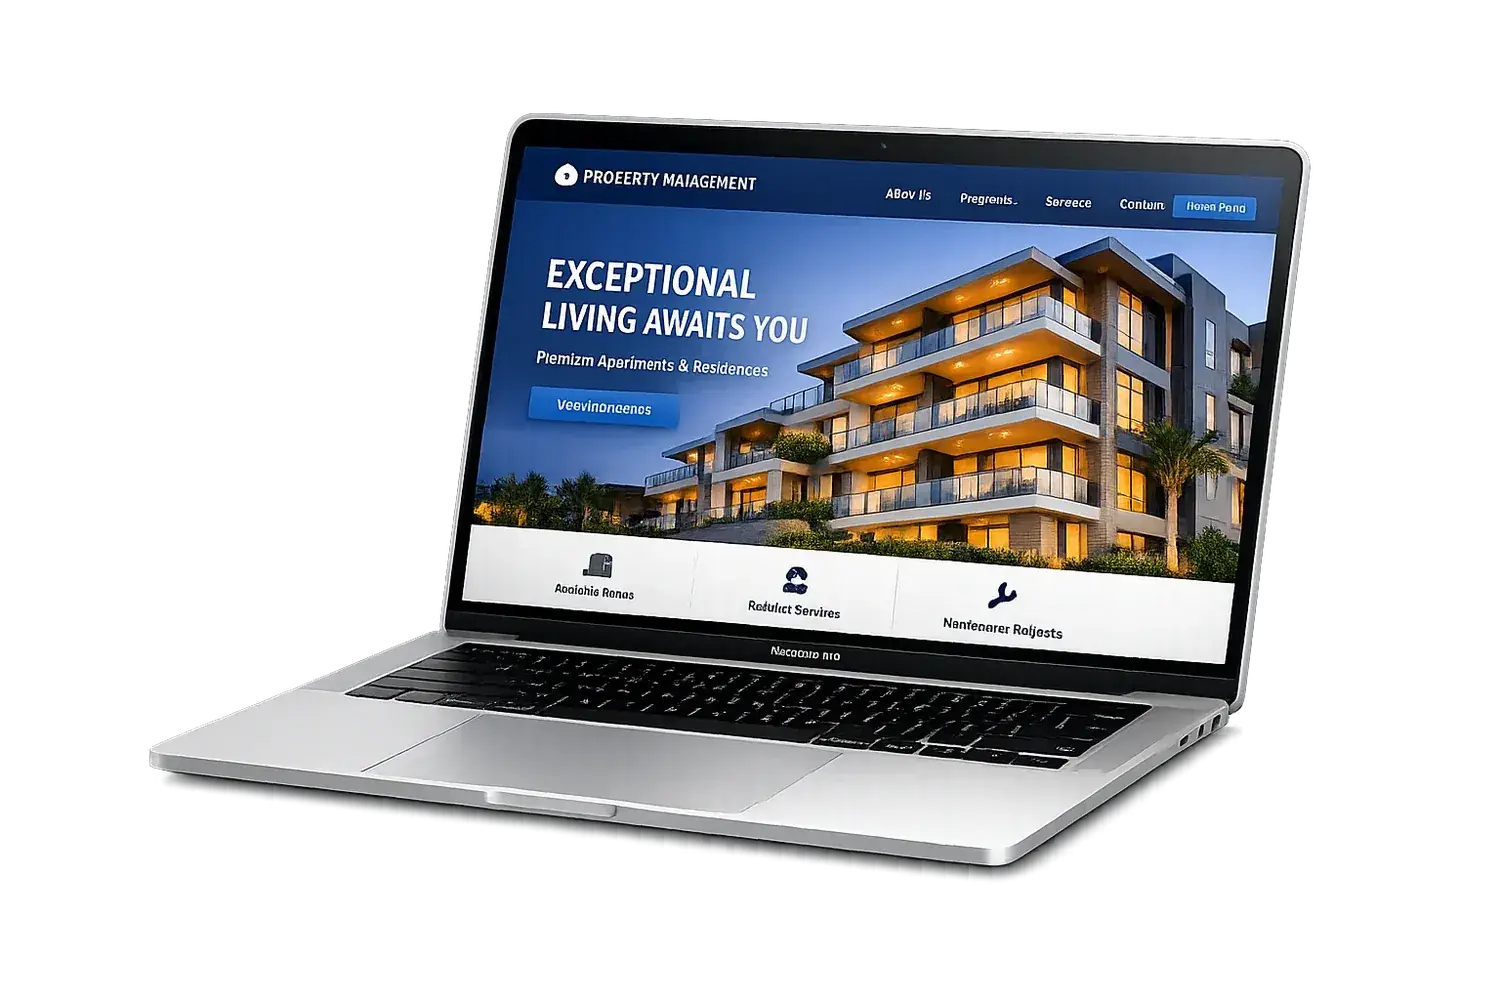
The build phase includes responsive design, schema markup, speed optimization, software integration, and accessibility compliance. Each of these is non-negotiable for a site that performs. A site that looks great but loads in 8 seconds is a failure. A site that looks good and loads in 2 seconds is a success.
During the build, you should see progress daily. Not weekly. Daily. Ask for a staging link on day one. Review each page as it is built, not at the end. Changes are cheaper when caught early.
Phase 4: Content (Day 6)
Content is where most redesigns stall. Property descriptions, amenity lists, FAQ answers, owner page copy. Gather this before the build starts. Write it in a document. Have it ready to drop in. The best redesigns have content completed before day one.
Phase 5: Launch (Day 7)
Launch includes SEO setup, Google Search Console registration, analytics configuration, and final speed testing. Set up conversion tracking so you can measure success. A site that launches without analytics is a site you cannot improve.